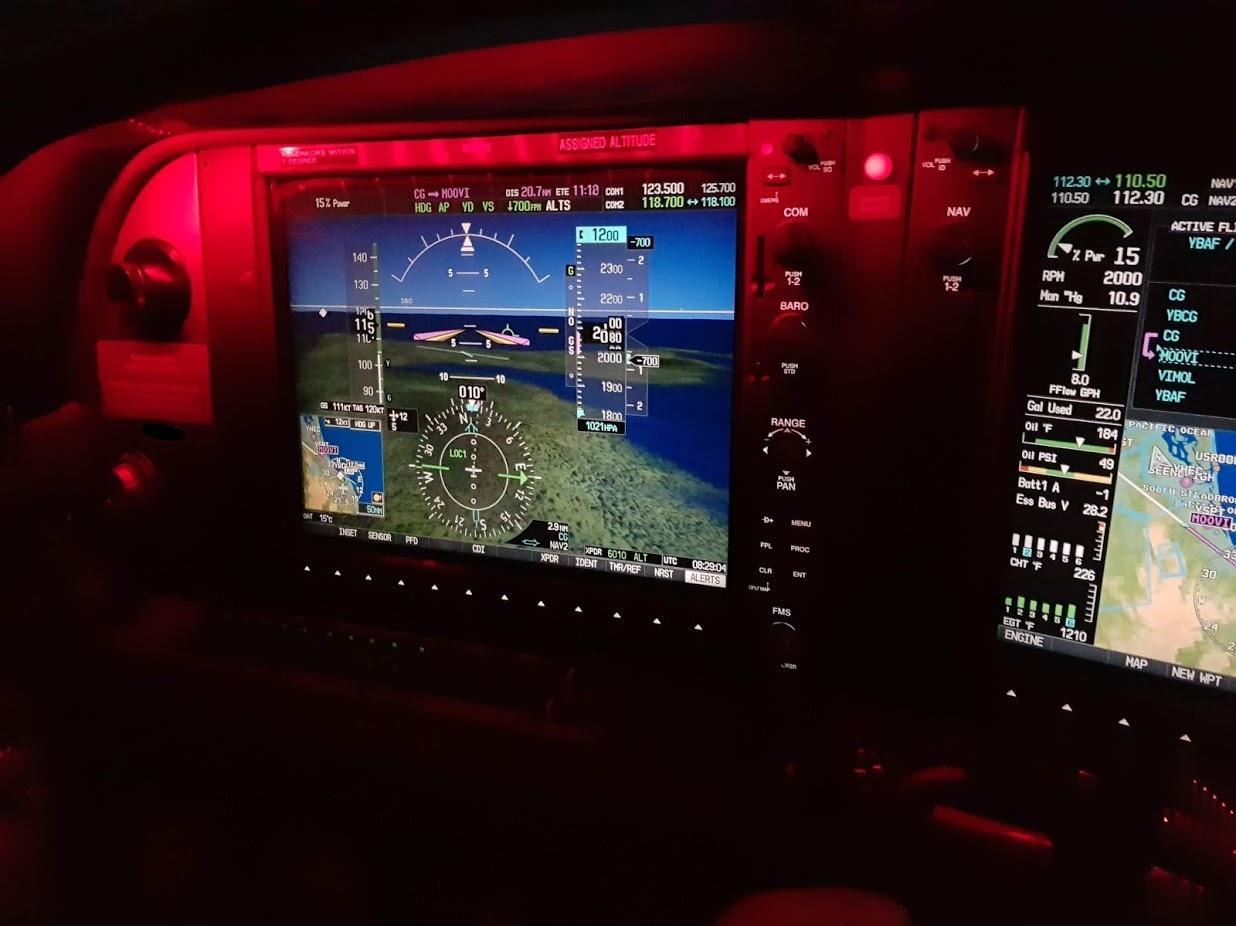
Terminology and basics.
The system revolves around groups, and pages within those groups. You will also hear the groups called books or chapters. The big knob is used to change between groups and the little knob is used to change between pages in that group. FPL (flight plan) is different as you access that group by pushing the FPL button (in fact, you can see how important it is as it has its own button –we do quite a bit in FPL). PROC (procedures) is also accessed by its own button but is for IFR procedures/approaches.
The groups are; FPL (flight plan), NAV (navigation -called MAP in some systems), WPT (waypoint), AUX (auxiliary), NRST (nearest). In some systems (such as Cirrus Perspective) there are also checklist and engine pages but on most other systems these are accessed in different ways (i.e. directly through an Avidyne MFD).
Within this document the pages will be referred to be abbreviations such as ‘FPL2’ –for FPL group, page 2. There will also be reference to some of the page names such as FPL1 being the “active FPL” and FPL2 being the “FPL catalog”.
If you want to interact within a page then turn the cursor on by pushing the cursor knob in (it’s the same knob that contains the big/little knobs for selection). Now the big knob will generally move the cursor to the field where you want it and the little knob changes that field or starts typing. The cursor knob is also a ‘back’ button so if you find yourself somewhere you don’t want to be, push it once to back out, or successive times to back out each stage until you get to where you do want to be. If you want to just go back to the beginning and start again then press and hold CLR and it will take you back to NAV1.
The menu will give you the options available for where your cursor is or the page you are on. This is a handy little menu and if you are ever unsure of where to go to do what you want the “ask the menu” and the option may be right there.
You will generally interact with the point after. That sounds odd but if you want to insert a waypoint in the FPL then have the cursor on the next point and simply start typing with the little knob –that point will now be inserted before the point you had the cursor on. If you want to activate a leg then have the cursor on the last point of that leg and ask the menu.
Pages you will need to use regularly.
FPL2 –the FPL catalog -this is where you enter FPL, name FPL, save FPL, activate FPL, amend FPL and do many more things. It is more important than other FPL pages and therefore listed first. FPL pages are also listed first here as they are the driving force of the system. Program these correctly and you will have a much better experience.
FPL1 –the active FPL –when you activate a FPL, this is where it goes and where you will be automatically sent. Here you can; amend your FPL without affecting the saved copy, activate legs, go direct-to, and a few other items. It is what you fly the aircraft on–i.e. this is what the HSI reads and also what the autopilot follows.
NAV1 –this is where you get sent if you press and hold CLR. It can be a handy page as it contains what leg you are on, time to next point and a CDI for use when you have a (real or simulated) failure of the HSI or PFD.
NAV2 –is a small map page. You can turn the cursor on here and steer the cursor (big and little knobs) to a random point you wish to track to. A simple press of direct-to will send you there.
NAV4 –this page has a compass on it to help you steer in failure modes.
AUX pages –one of these has a scheduler you can set up, another has RAIM prediction.
NRST1 –nearest airports can be handy to have up when on departure so you can easily read how far from your departure airport you are for radio calls.
Handy hints.
Program/save your first FPL of the day, quickly (due to battery life), into the catalog (FPL2) when you are doing the internal part of the daily inspection. That will mean you simply have to activate it once the engine is running and not waste fuel/money whilst programming. If it is a long plan then just enter the first few points and the destination –enough to get you up and going to where you can add the other points once you are settled in the cruise. Any successive FPL for the day can be entered/saved in the catalog once you are in the cruise to save time/fuel/money when on the ground. Each airport you will go to (land, touch-and-go) should define the end of a leg.
Know how to enter a lat/long so you can navigate to any point you want.
Stay away from direct-to as much as you possibly can. This leads to many errors, infringements of controlled airspace and lack of awareness of lowest safe altitudes. Direct-to is normally used by those who don’t know how to use the FPL –get to know the FPL!
Know what OBS does. Ask an instructor to show you how you can use this to track outbound from a point in a specified direction or use it to track to an unknown map plot from a known database point. For example, if you have plotted on your map that ‘farmer browns paddock’ is a bearing and distance from waypoint-X then you can use this feature to go there without entering a lat/long.
Common mistakes.
Pressing ENT when you meant MENU. This will generally not give you the options you want but will “enter” into that points details –therefore dumping you into the WPT pages.
Pressing CLR when you wanted to press and hold CLR. This will now try to delete whatever you had selected as opposed to returning to NAV1. The opposite can also occur where you wanted to delete something but ended up back at NAV1.
Having ‘crossfill’ on when you have to units. This has both units blindly slaved to each other which halves your functionality/safety/awareness and can lead to errors in automation.


 Download File